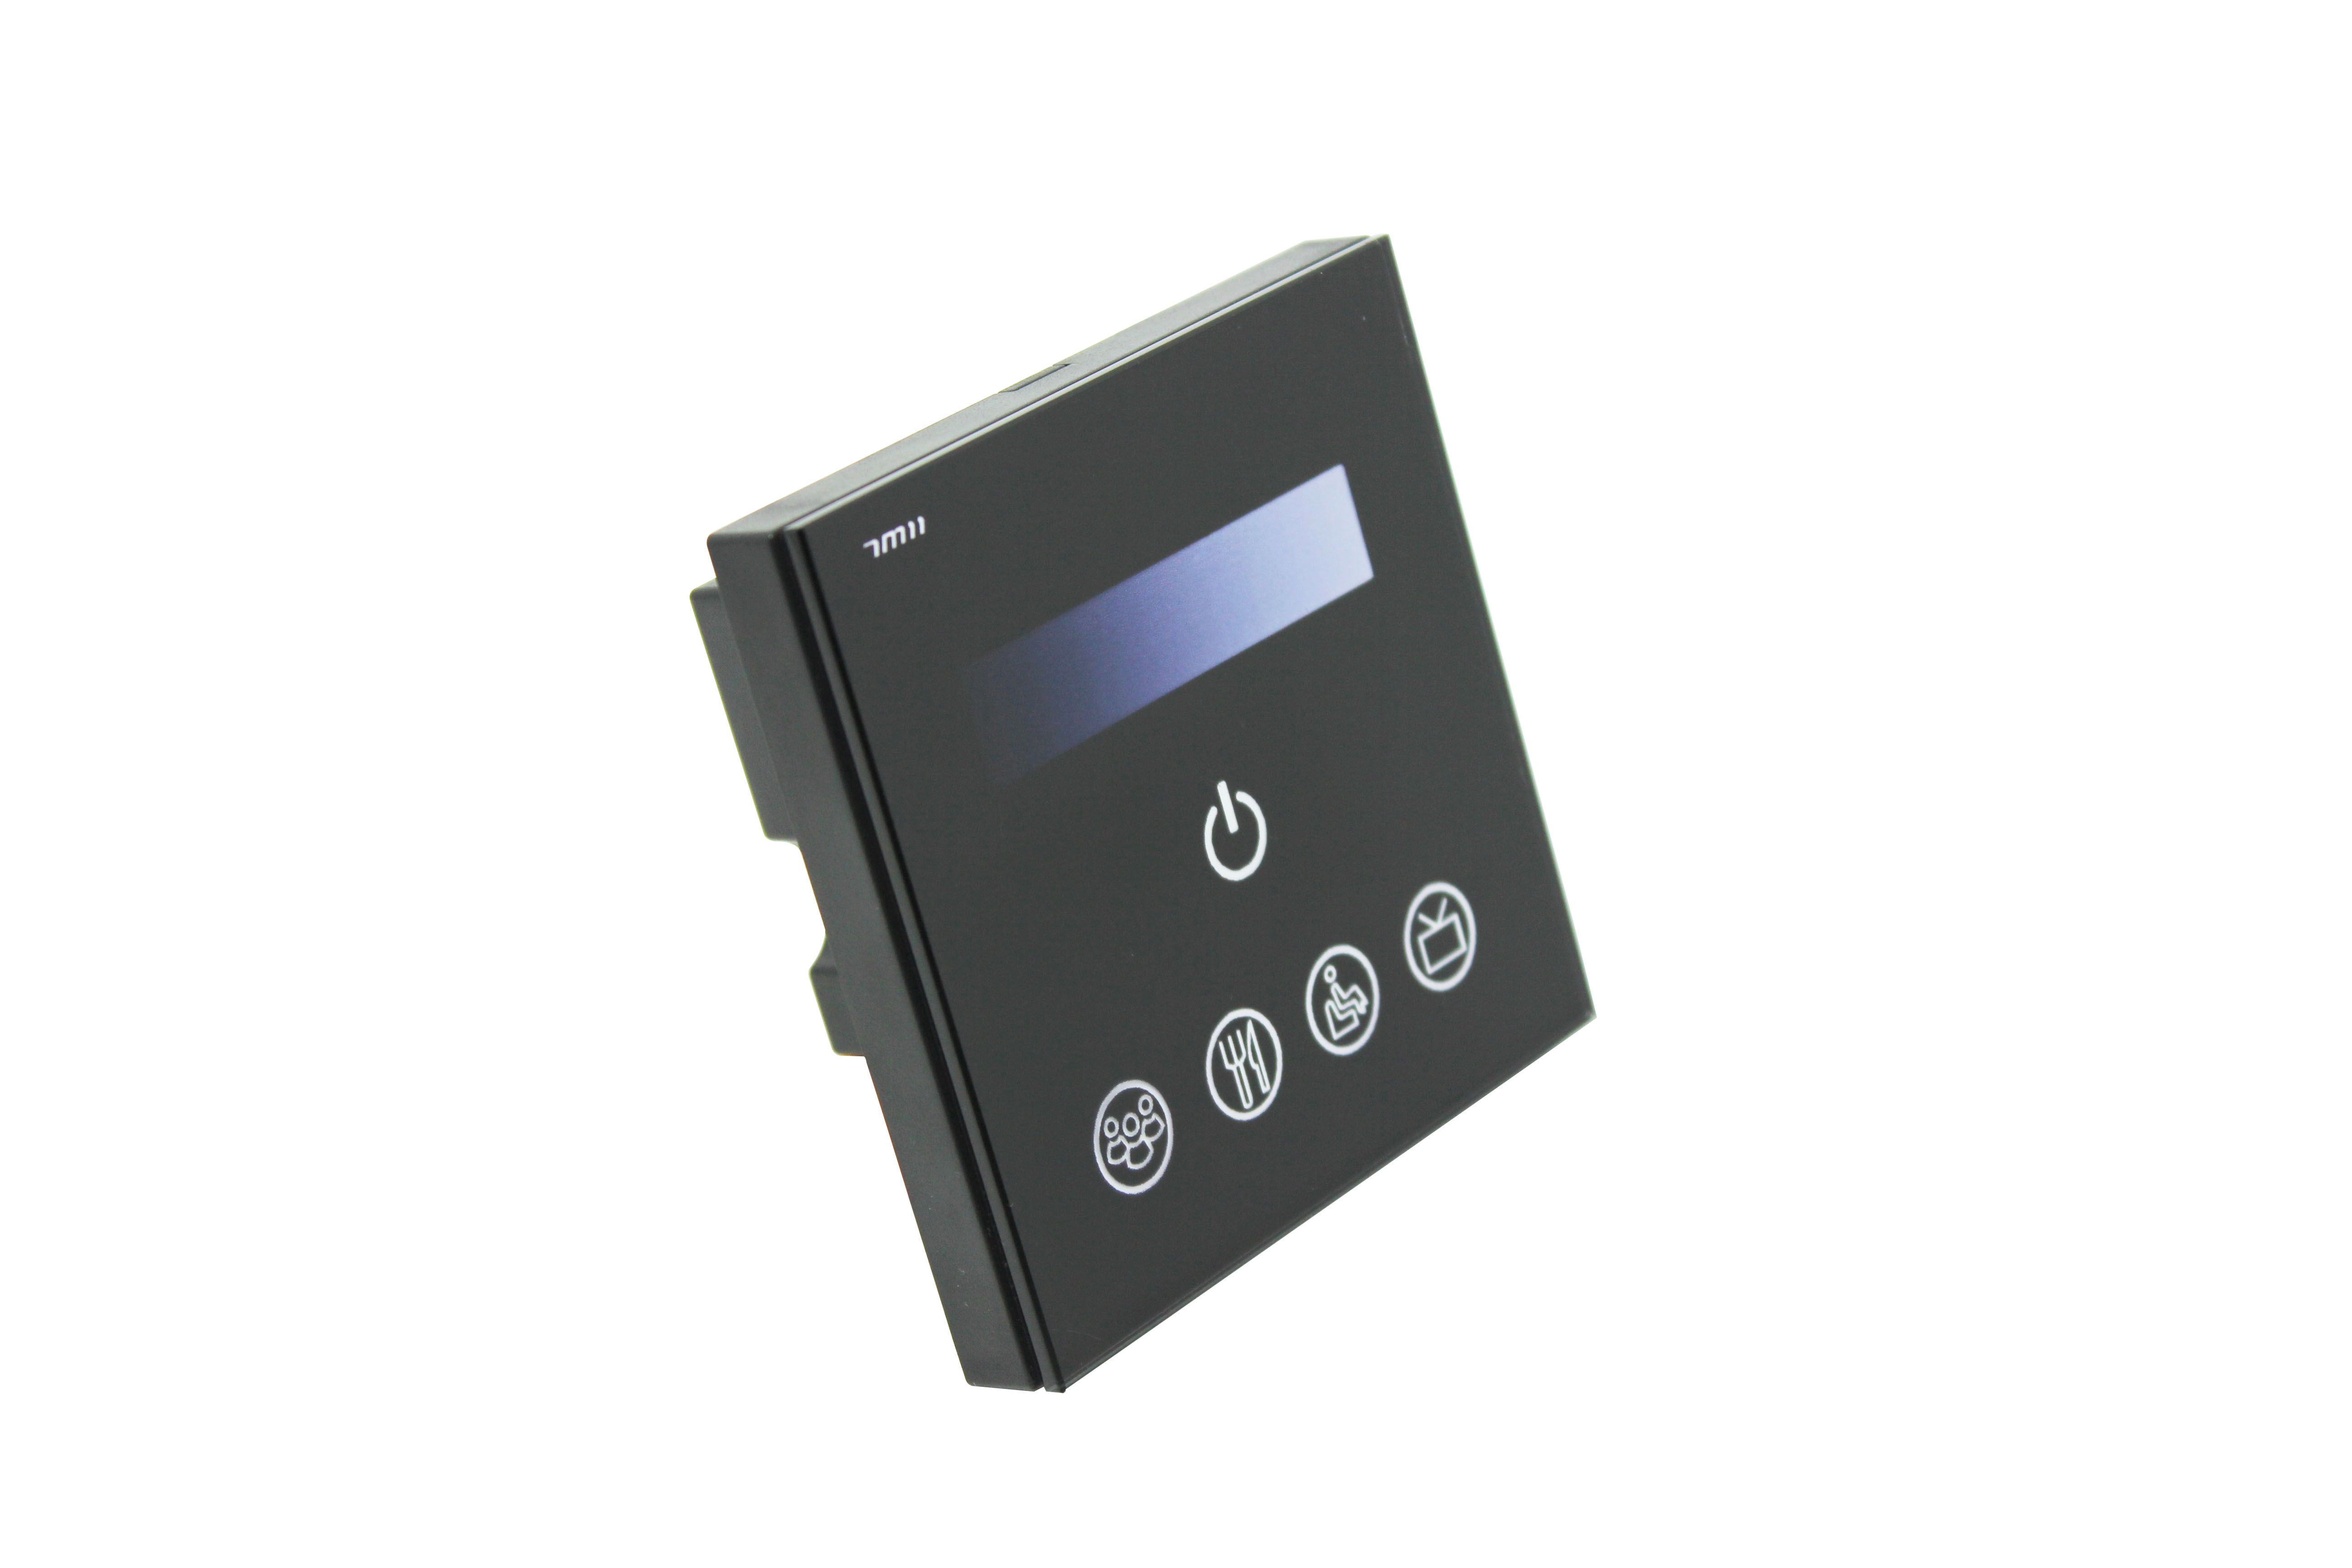

Touch Panel Dimmer
| Place of Origin | China |
|---|---|
| Brand Name | okled |
| Model Number | TM11 |
| Input Voltage | AC85~260V |
| Correlated Color Temperature | -20-60 °C |
| Inquiry | |
Detailed Product Description
Product Specifications
NAME: Touch Panel Dimmer
MODEL: TM11

Summarization
TM11 is a high voltage touch controller which self-developed by our company. And it inherits the advantages of low-voltage controllers, adopts glass panel design, is beautiful and fashionable in appearance, with high precision capacitance touch control chip, increases the touch sensitivity, reduces trigger which caused by mistake, provides more comfortable and convenient, safer, intelligent lighting control than traditional lighting control, optimized people’s lighting control experience, thus gives user a new comfortable lighting environment.
Technical Parameters
supply voltage: AC85~260V /50-60Hz
working temperature: -20-60 °C
working power consumption: about 2W
output: trailing-edge dimming
packing size: L90 Χ W90 Χ H40 mm
external dimension: L86 Χ W86 Χ H37 mm
net weight: 150g
gross weight: 211g
External Dimension

Interface Specifications

Power Input: Power input interface, input voltage range is AC85-260V.
Load (lamp): AC voltage regulator signal output interface, the maximum load is 200W.
Buttons Description:
This product has storage capabilities of four scenes, it could meet the applications of user’s various needs. According to their needs, user can set the output type of related scenes, when need to call any scene, you just need to press the scene that you set to call the scene, it is very conveninent. This product has six buttons, simple to operate, and easy to use. It adopts computer digital chips, with high reliability, accurancy and other characteristics, the setting of distance between buttons is designed scientifically through experience and user’s reflect, at the same time, it has function of long press and short press, can greatly reduce the misuse.

 : slide bar control: adjust brightness of lights, in the case of opening buzzer, each operation when let go, you can hear “di”, which means the operation is effective.
 : scene 1:
Long press: store the current scene, light is on; in the case of opening buzzer, “didi” of buzzer, that has been stored the scene, release your hand, the corresponding LED will light; if the buzzer is off, long press for a while, then you can release your hand, the correspongding LED will light.
Short press: switch to stored scene, the button indicator pressed will light, when buzzer is on, you can hear “di” of buzzer.
 : scene 2:
Long press: store the current scene, light is on; in the case of opening buzzer, “didi” of buzzer, that has been stored the scene, release your hand, the corresponding LED will light; if the buzzer is off, long press for a while, then you can release your hand, the correspongding LED will light.
Short press: switch to stored scene, the button indicator pressed will light, when buzzer is on, you can hear “di” of buzzer.
 : scene 3:
Long press: store the current scene, light is on; in the case of opening buzzer, “didi” of buzzer, that has been stored the scene, release your hand, the corresponding LED will light; if the buzzer is off, long press for a while, then you can release your hand, the correspongding LED will light.
Short press: switch to stored scene, the button indicator pressed will light, when buzzer is on, you can hear “di” of buzzer.
 : scene 4:
Long press: store the current scene, light is on; in the case of opening buzzer, “didi” of buzzer, that has been stored the scene, release your hand, the corresponding LED will light; if the buzzer is off, long press for a while, then you can release your hand, the correspongding LED will light.
Short press: switch to stored scene, the button indicator pressed will light, when buzzer is on, you can hear “di” of buzzer.
 : On/off switch. When controller switch is turned on, the backlight is off, operations of other keys are effective, it can perform operation of all functions. When controller is turned off, the backlight will light up, it can not perform the above operation, can only perform on/off switch; long press the button, you can operate on/off of the buzzer. You can turn on/off the buzzer by long pressing.
Typical Application

Installation method
1, Use of "--" word screwdriver at the notch touch panel gently pry, slowly remove the panel, as shown below:

2, The controller is fixed on the wall bottom shell with 86 × 86 installation box screws (box installed customers need to purchase their own), as shown below:

3,The controller of glass panel before open cover, thus the installation is complete, as shown below:

Notice
1. Please don't install controller in a seal off , high magnetic field or high pressure area;
2. Please do install controller in a well-ventilated area to insure appropriate temperature .
3. Check out whether the supply voltage and power is in the range of controller required or not .
4. Before power on , please inspect the line is correct connection, and test it whether there is a short circuit ;
5. Any problem, please do not open the shell of controller .
This manual is only applicable to this model of controller, if there is an update without notice.