
0-10V Wifi Touch Dimmer
| Place of Origin | China |
|---|---|
| Brand Name | okled |
| Model Number | TM113 |
| Input Voltage | AC90~240V |
| Correlated Color Temperature | -20-60°C |
| Inquiry | |
Detailed Product Description
Product specification
NAME: 0-10V Wifi Touch Panel Dimmer
Model: TM113

I. Product Summarization
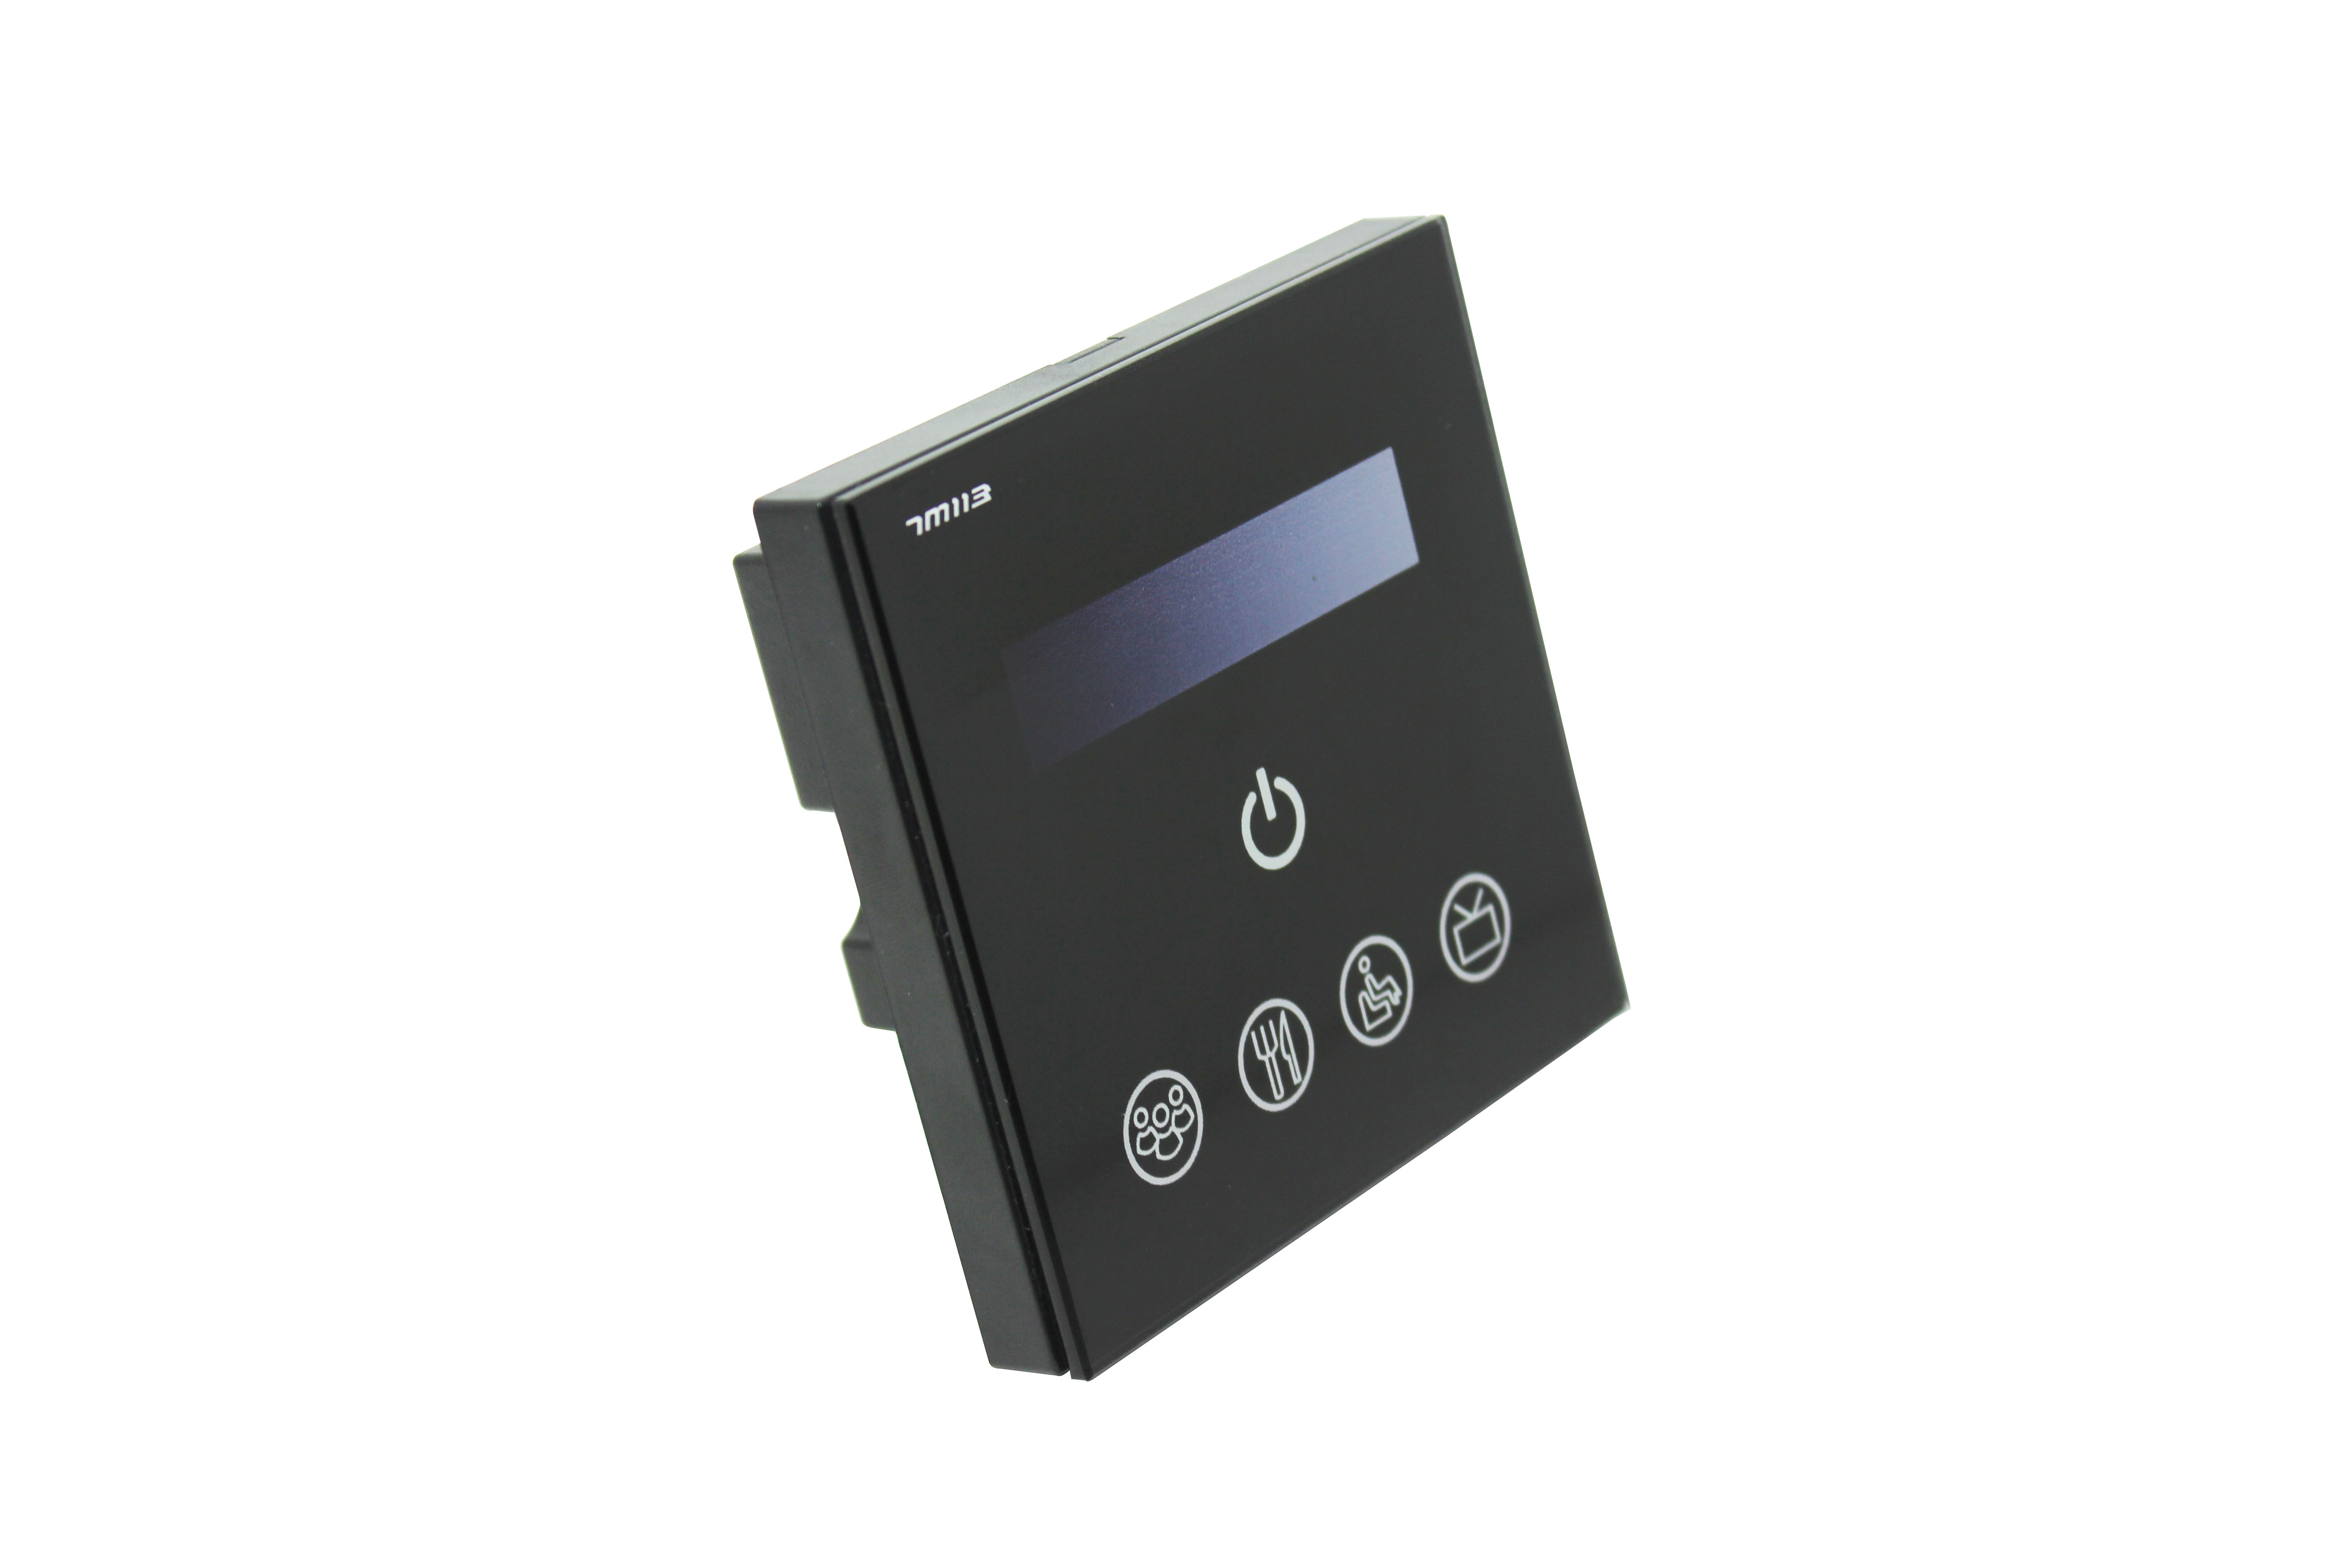
TM113 is 0-10V dimmer independently developed by our company, which integrates WiFi dimming and 0-10V dimming. Dimming function of TM113 is more powerful, and more flexible to use. when using, you do not need to switch wireless networks, it is more convenient to be on internet. Upgrade software integration WiFiManager function makes network configuration of TM113 more convenient, you can independently choose wireless network just by mobile phone, no need to use the computer. Combined our independently developed mobile software Touchhome with controller, which makes TM113 more convenient to control. It adopts capacitive touch chips, achieves precise dimming, hardware layout is reasonable, can reduce trigger which caused by mistake. It provides more comfortable and convenient, safer intelligent lighting control than traditional lighting control, which gives user a new comfortable lighting environment.
II. Technical Parameters
1. Software technical parameters
1. Name: Touch Home+
2. Runtime platform: ios (iphone,ipad), Android (phone,pad) equipment must have WiFi function.
3. Language: English, Chinese
4. Category: communication
2. Touch panel dimmer technical parameters
1. Working voltage: AC90~240V / 50-60Hz
2. Working temperature: -20-60°C
3. Working power consumption: <2W
4. Dimming method: 0-10V signal output dimming
5. Output power: <200W (Load power of 0-10V dimming driver)
6. Controller weight: 160g
7. Gross weight: 221g
8. External dimension: L86 * W86 * H37 (mm)
9. Packing size: L90 * W90 * H40 (mm)
3. External Dimension

III. Instruction for use
Step 1: Get to know WiFi touch panel dimmer
Step 2: Interface specifications
Step 2: Install TouchHome+ control software
Step 4: Configure touch panel dimmer
Step 5: Phone control
Step 6: Install touch panel dimmer
Step1:Get to know WiFi touch panel dimmer
The function of each button is as shown below:
![]() : slide bar control, adjust brightness of lights, in the case of opening buzzer, each operation when let go, you can hear “di”, which means the operation is effective.
: slide bar control, adjust brightness of lights, in the case of opening buzzer, each operation when let go, you can hear “di”, which means the operation is effective.
![]() : scene 1:
: scene 1:
Long press: press the button for around 5s, store the current scene, light is on; in the case of opening buzzer, “didi” of buzzer, that has been stored the scene, release your hand, the corresponding LED will light; if the buzzer is off, long press for a while, then you can release your hand, the corresponding LED will light.
Short press: switch to stored scene, the button indicator pressed will light, when buzzer is on, you can hear “di” of buzzer.
![]() : scene 2:
: scene 2:
Long press: press the button for around 5s, store the current scene, light is on; in the case of opening buzzer, “didi” of buzzer, that has been stored the scene, release your hand, the corresponding LED will light; if the buzzer is off, long press for a while, then you can release your hand, the corresponding LED will light.
Short press: switch to stored scene, the button indicator pressed will light, when buzzer is on, you can hear “di” of buzzer.
![]() : scene 3:
: scene 3:
Long press: press the button for around 5s, store the current scene, light is on; in the case of opening buzzer, “didi” of buzzer, that has been stored the scene, release your hand, the corresponding LED will light; if the buzzer is off, long press for a while, then you can release your hand, the corresponding LED will light.
Short press: switch to stored scene, the button indicator pressed will light, when buzzer is on, you can hear “di” of buzzer.
![]() : scene 4:
: scene 4:
Long press: press the button for around 5s, store the current scene, light is on; in the case of opening buzzer, “didi” of buzzer, that has been stored the scene, release your hand, the corresponding LED will light; if the buzzer is off, long press for a while, then you can release your hand, the corresponding LED will light.
Short press: switch to stored scene, the button indicator pressed will light, when buzzer is on, you can hear “di” of buzzer.
![]() : On/off switch. When controller switch is turned on, the backlight is off, operations of other keys are effective, it can perform operation of all functions. When controller is turned off, the backlight will light up, it can not perform the above operation, can only perform on/off switch
: On/off switch. When controller switch is turned on, the backlight is off, operations of other keys are effective, it can perform operation of all functions. When controller is turned off, the backlight will light up, it can not perform the above operation, can only perform on/off switch
Long press the button around 5s: you can hear “di, di”, and then release the button, you can turn on/off the buzzer;
Long press the button around 10s: you can hear “di, di, di”, dimmer will restore factory settings.
Step 2: Interface specifications

Step 3: Install control software of smartphone
1. IOS software installation
Method 1: iPhone or iPad App Store installation
Open iPhone or iPad App Store, input “TouchHome+” into search box, click “search” button, look for “TouchHome” software installation in the list, as shown below, click “installation”, the software will be installed in mobile phone.
Method 2: computer-based version iTunes installation
If the computer is not installed iTunes software, please download it from apple official website and install it. Open “iTunes” software, connect iPhone or iPad to computer via data line, input “TouchHome+” into search box, click “search” button, look for “TouchHome+” software installation in the list, as shown below, install it into mobile phone.

2. Android software installation
There are two cases:
The first: User devices support play store
Method one: phone or pad Play Store installation
Open “play store” in the phone or pad, input “TouchHome+” into search box,click “search” button, look for “TouchHome+” software installation in the list, install it into mobile phone, as shown in the figure. 
Method two: computer installation
Open web browser, input website “play.google.com/store,” input “TouchHome+” into search box,click “search” button, look for “TouchHome+” software installation in the list, as shown below.

If user’s phones or pad has bound with user’s account, click “installation”, open mobile phone Play Store, software will autoload to download list. If not, user devices must adopt method one or method two to download software.
The second: User device don’t support Play Store
Open web browser, input website “http://apk.hiapk.com/”,input “TouchHome” into search box, click “search” button, look for “TouchHome+” software installation in the list, as shown in the figure.
Step 4: Configure touch panel dimmer
Dimmer factory default parameter: mode: Ad hoc network (AP), SSID:TM113-XXXXXXXXXXXX, password : none. Configuring dimmer mobile phone should be installed “TouchHome+” dimmer software.
Steps of configuring dimmer:
1. Restore factory settings
Press “ON/OFF”for 5s, you can hear “di, di, di” of buzzer. Dimmer restores factory settings, at this moment, type of network is mode: Ad hoc network (AP), SSID:TM113-XXXXXXXXXXXX, password : none. If it is factory default, the step can be omitted, directly enter into step 2.
2. Mobile phone joins the dimmer wireless network(SSID: TM113-XXXXXXXXXXXX, password: none)
Open mobile phone WiFi, search “TM113-XXXXXXXXXXXX”, join it, as shown below:

3. Setting network
Open “TouchHome+”, click “more”, open the page as shown below, choose the equipment which need to be modified, input the network information you need to add, click “send”, then the dimmer network setting is finished.

Page description:
1. Refresh: If the equipment is not refreshed automatically, click the key, then you can refresh equipment manually.
2. Device list: show current equipment connected to this router, the blue circle indicates being chosen.
3. Account: The router SSID you need to add.
4. Password: The router password you need to add.
5. Send: Determine the key.
4. Test dimmer
Add the mobile phone to the router in which dimmer joins, open the page on step 3, click “refresh”, check whether dimmer has joined in this router or not, if you can inquiry equipment in device list, it shows that the device settings are successful. Otherwise, reset from step 1.
Step 5: Phone control
Open “TouchHome”, click “area”, add room->add equipment->control equipment. Click added equipment,enter into the page as shown below.
Page description:
1. Drawer slip: brightness adjusts the drawer slip.
2. Open: open dimmer output.
3. ![]() : increase the brightness, each click will increase the brightness 1, long press increases the brightness continuously.
: increase the brightness, each click will increase the brightness 1, long press increases the brightness continuously.
4. ![]() :decrease the brightness, each click will decrease the brightness 1, long press decreases the brightness continuously.
:decrease the brightness, each click will decrease the brightness 1, long press decreases the brightness continuously.
5. Close: close dimmer output.

Step 6: Install dimmer
1. Use of "--" word screwdriver at the notch touch panel gently pry, slowly remove the panel, as shown below:

2. The controller is fixed on the wall bottom shell with 86 × 86 installation box screws (box installed customers need to purchase their own), as shown below:

3. The controller of glass panel before open cover, thus the installation is complete, as shown below:

IV. System Application Diagram
When there are multiple dimmers in user’s wireless network, the system structure is as shown below. User can intelligently control these dimmer through “TouchHome”. In a control system, it can accommodate multiple dimmers, about control mode, please refer to “TouchHome” software instructions.

Note: the dimmers in the diagram is connect with external power supply, output AC80-240V of TM113 is not enabled, and can also provide AC90-240V power supply for external device.
V. Notice
1. Please don't install dimmers in a seal off , high magnetic field ;
2. In order to reduce the risk of fire disaster and device damage caused by short circuit , please make sure correct connection;.
3. Installation position of dimmers should be as near as possible to the router so as to ensure normal controlling;
4. Any problem , please do not open the shell of dimmers at will.
5. This manual is only applicable to this model of dimmers, if there is an update without prior notice.